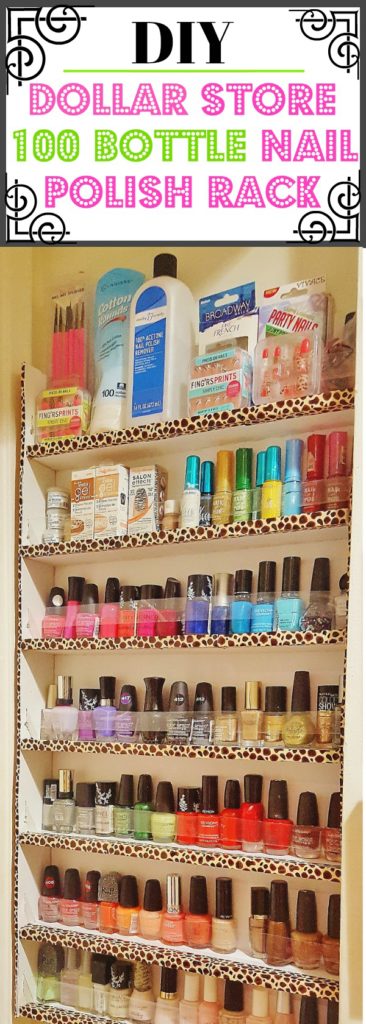
The Dollar Store Nail Polish Rack No One Will Know is DIY
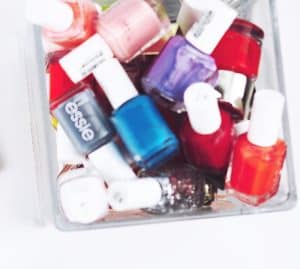
Do you keep all of your nail polishes in a cramped basket in the bathroom and end up barely using half of your colors because they’re hidden in the clutter?
To remedy this problem we had been wanting to get a professional nail polish rack for the longest time but couldn’t find one that fit in the nook of our recessed wall so we decided to try a DIY dollar store option and were AMAZED.
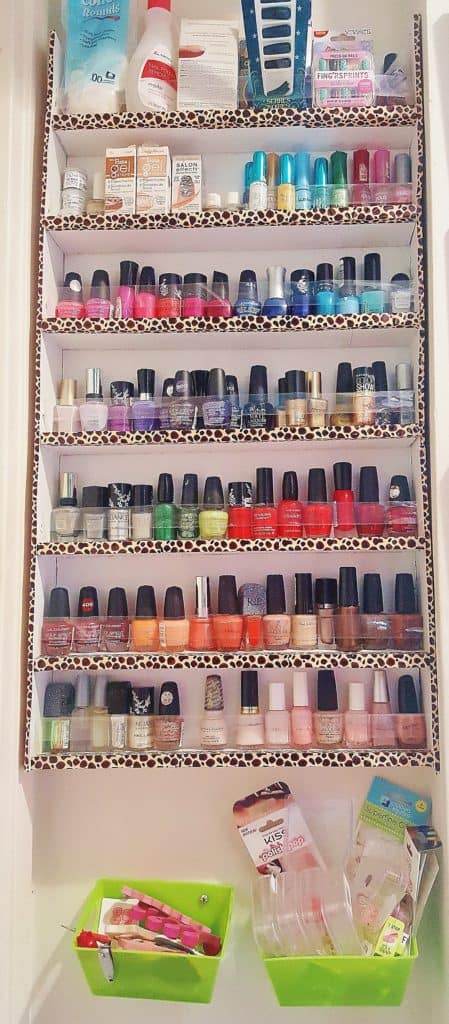
Using materials we already had (that total less than $10), we ended up with a stylish custom made rack. It was meant to be a temporary fix but it came out so well that we kept it. What sets this rack apart from others is the shelf at the top where you can store taller items such as nail polish remover and bags of cotton swabs.
We’ve since become the unofficial nail salon among friends and family. No more digging in a drawer, no more nail polishes going bad before we can find them. All of our polishes and supplies are on display outside of the bathroom away from heat and humidity. It’s well worth the effort, and isn’t as complicated as it looks.
How To Do It:
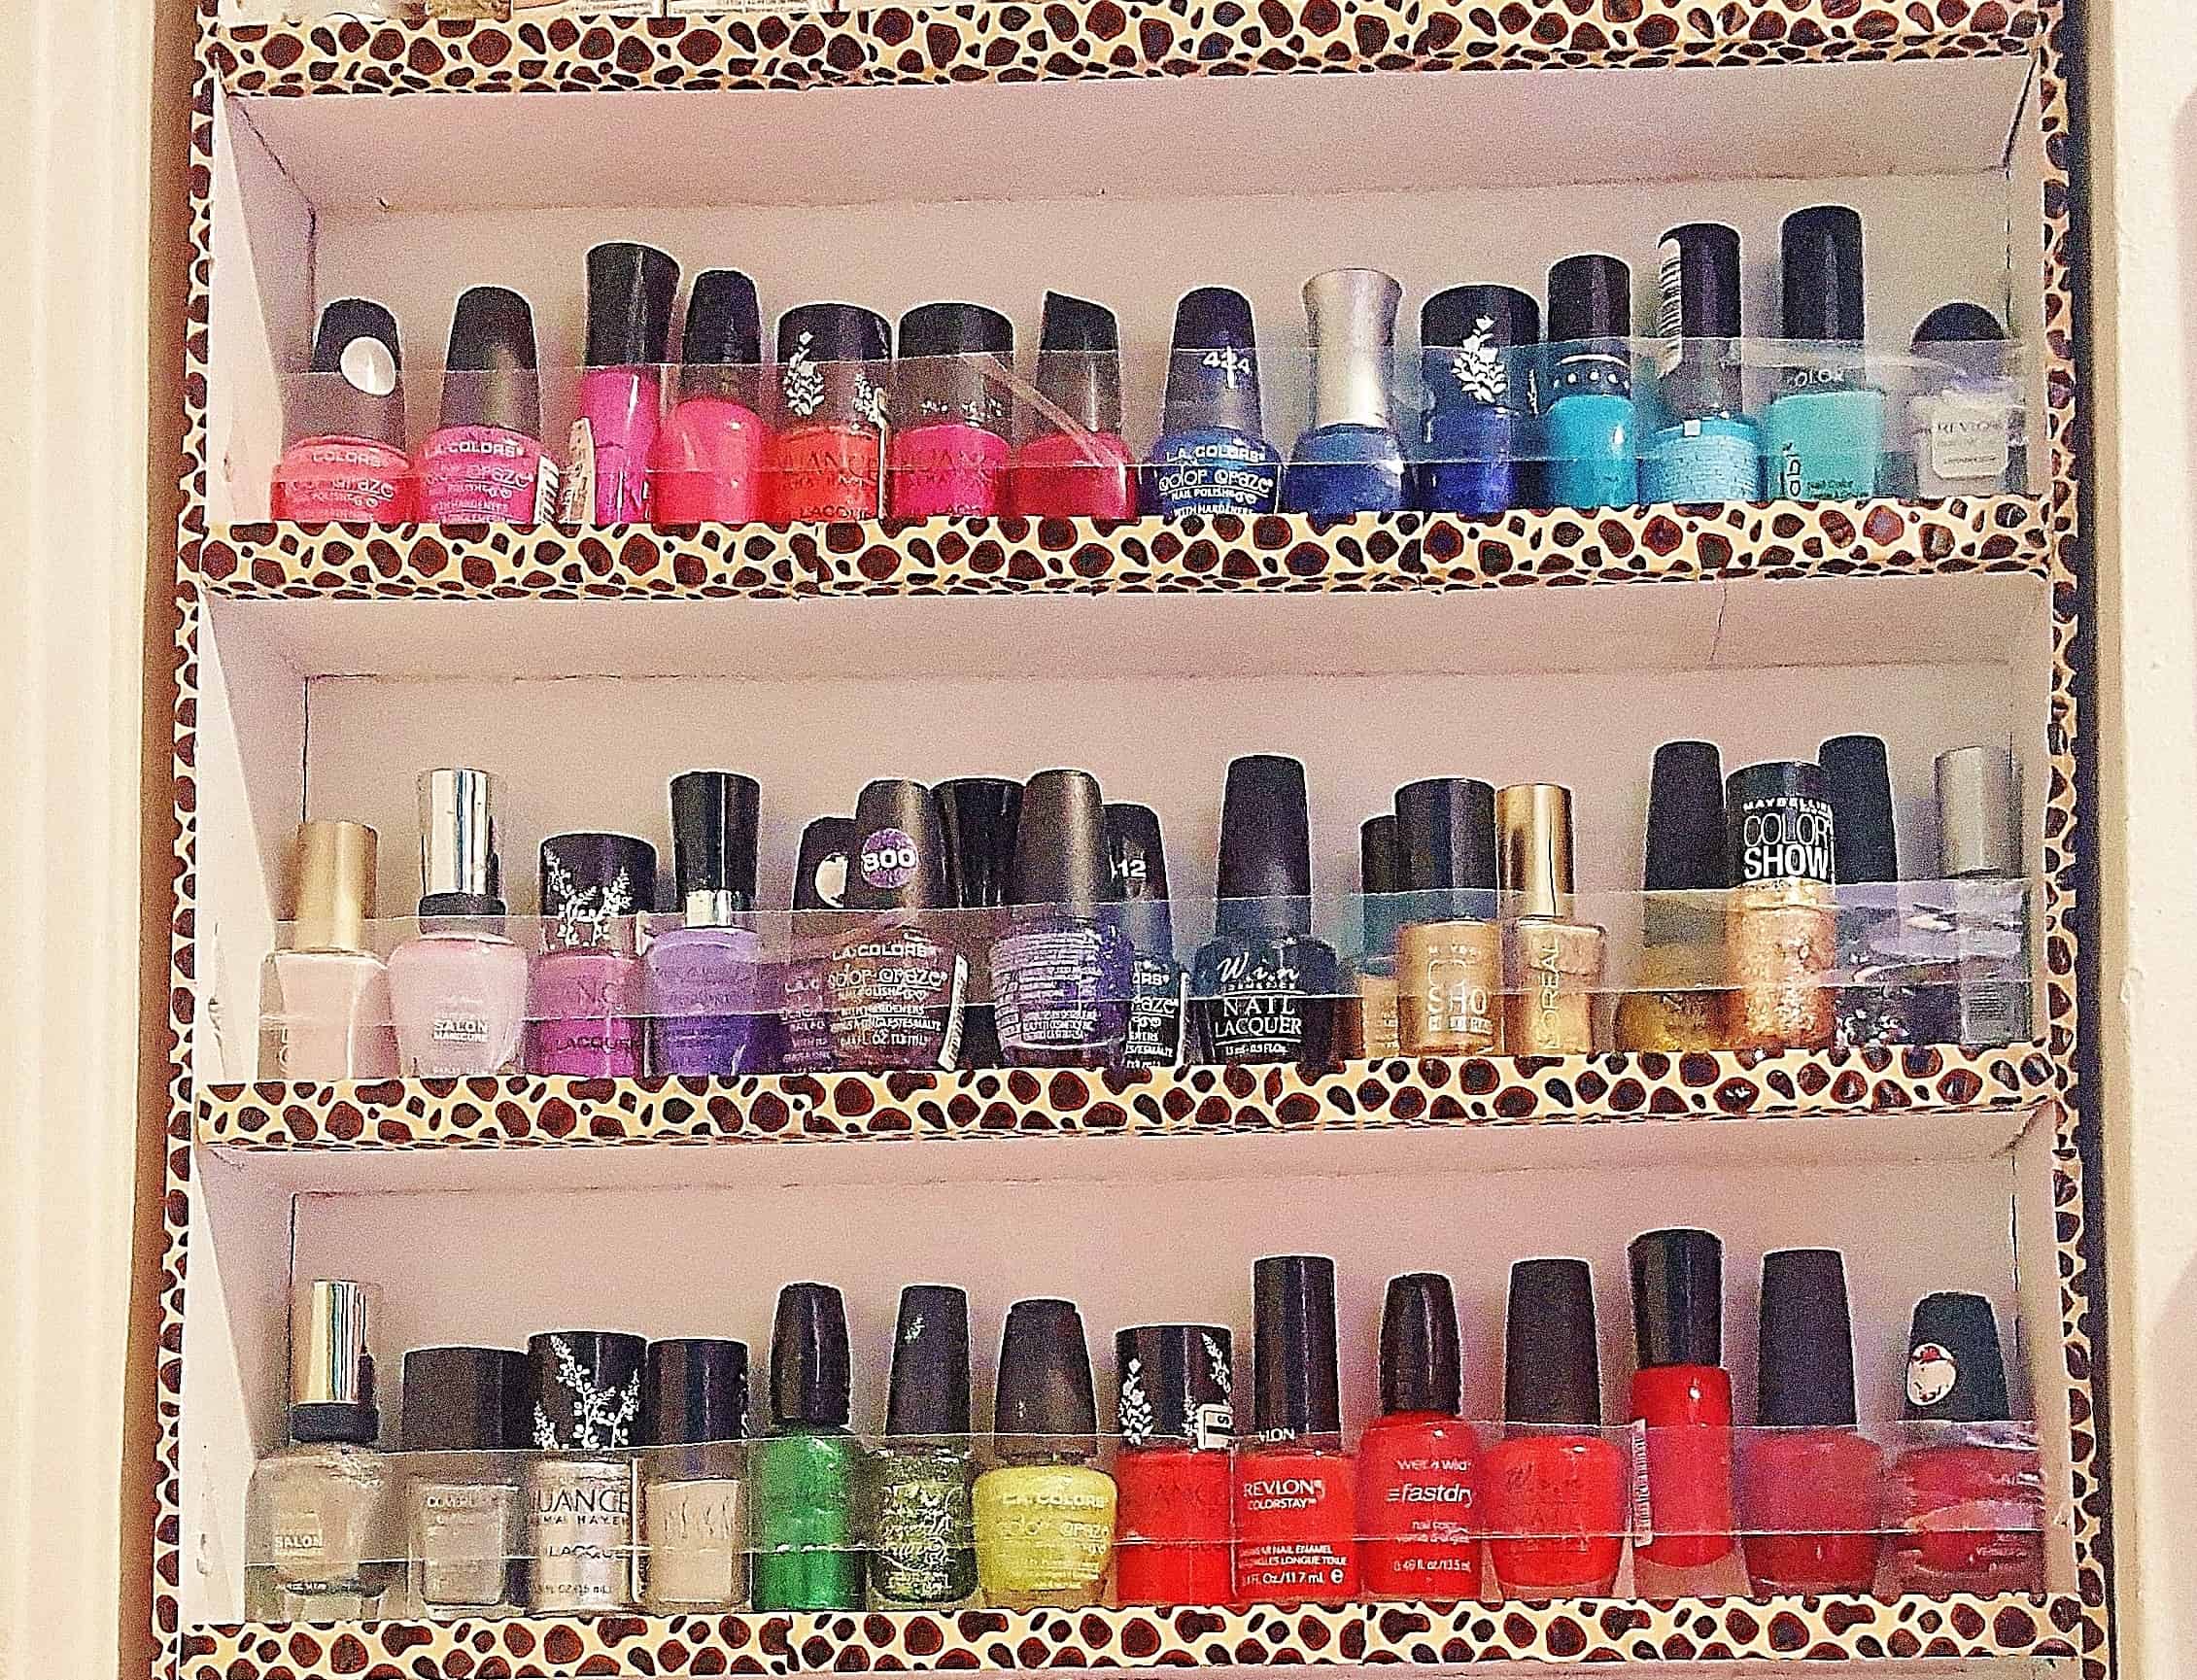
Our display is 32 inches tall by 16 1/2 inches wide and can hold 91-100 bottles of nail polish. Below is the video we followed and how we customized it:
- Two 1/4 inch thick foam boards, 32×20 inches (for a smaller display you can just use one board)– They sell these at the Dollar Store or 99cents store. We cut one of the boards to 16 1/2 inches x 32 inches and used it as the back of the display. The second board was cut into two pieces, 2 3/4 inches wide by 32 inches tall and used on each side to frame the display.
- One 1/2 inch thick foam board, 30×20 inches – We wanted something stronger for the shelves holding the polish so we used 1/2 inch thick board which we cut into seven pieces 16 1/4 inch long by 2 3/8 inches wide
- 39 Nails– We used 3 nails per shelf to secure each one to the back of the display, then used 2 nails per shelf (one on each side), to secure the sides to each shelf. We followed the directions in the video and used a glue gun for extra support. We used 4 nails to fasten the display to the wall. If you’d like you can use more nails for extra support.
- Clear shipping tape– This wasn’t in the video but since we live in earthquake country, we needed a way to prevent the polishes from falling off the shelves. We folded 7, 18 inch long pieces of clear shipping tape in half. We then made a 1/2 inch vertical slice on the sides of the frame about 3/4 of an inch above each shelf using an exacto knife, we slid the ends of the folded tape through the slits and taped each side down. We like the tape because we can see through it and it’s flexible so we can stack nail polish bottles infront of eachother. You can also just cut 7 pieces of board that are 1/2 inch wide and glue them on the front of each shelf to create a lip. Shipping tape is available at most dollar stores.
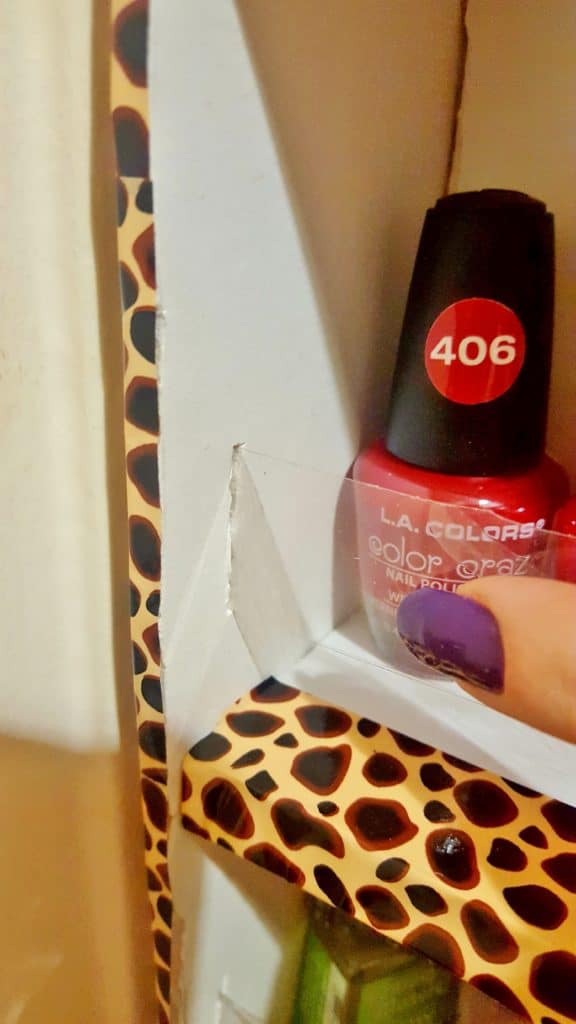
- Decorative duct tape– This is available at most dollar stores or craft stores and adds a fun, polished look to the display. We lined the edges of the shelves and the sides of the display with leopard duct tape, it secured and covered the shipping tape on the sides perfectly and hid the rough edges of each shelf.
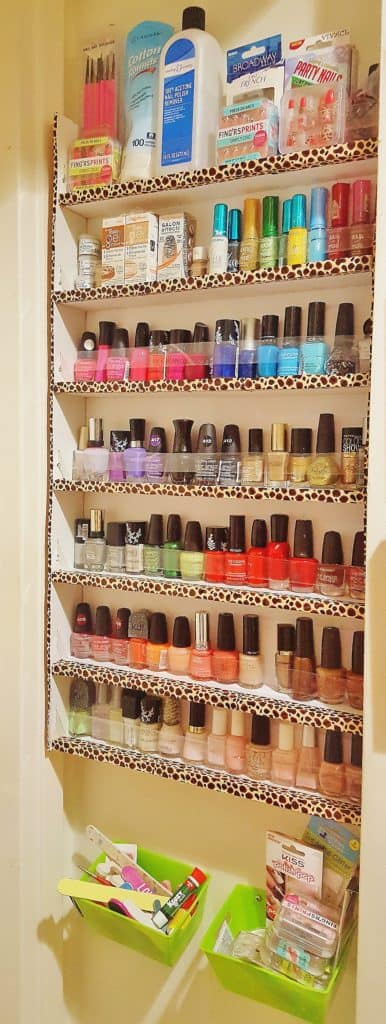
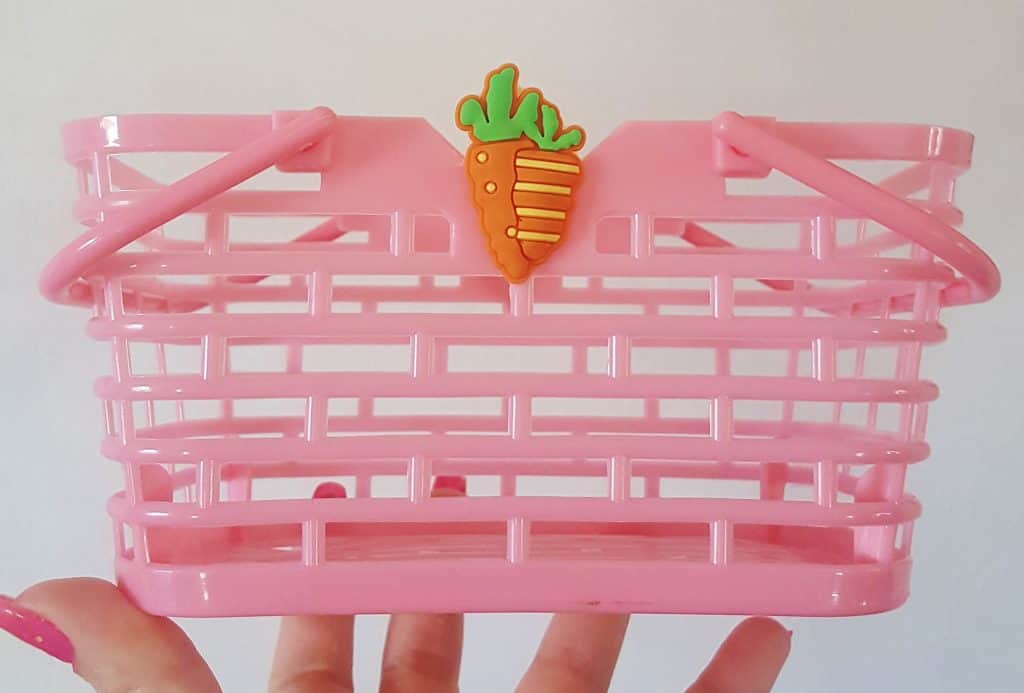
- Baskets- The plastic green baskets we used were actually super difficult to hang up and are a bit cramped. We’d suggest a basket with more openings for easy hanging that you can even remove to take with you wherever you do your manicure, like the one below that we got on sale at the drugstore after Easter for 10 cents. The Dollar Tree has a wide variety of baskets with openings that make hanging a breeze as well.
Making this rack was one of the best things we ever did and well worth the 3 hours it took. It saves time, money, and most importantly hassle. Every nail polish enthusiast needs this in their lives.
If you have any questions about the process, feel free to email us or comment below.
Here’s another post you may enjoy:
Don’t forget to pin it: