
This roundup of easy DIY Halloween decorations is packed with cheap, last‑minute, Dollar Tree crafts you can make in minutes for indoors or outdoors.
Using simple supplies you already have or Dollar store items, these renter‑friendly projects are apartment, dorm, classroom, office, party, and front‑porch approved. Most take under 5–10 minutes, are kid‑safe, and look store‑bought in photos. They’re perfect for even elegant and festive parties.
Keep scrolling for step‑by‑step tips, and our favorite easy DIY Halloween décor that proves festive doesn’t have to be fussy or expensive.
VINTAGE GHOST GARLAND

Make this easy and adorable vintage ghost garland out of scrap cloth! You can see a video tutorial here.
EASY GHOST BALLOONS
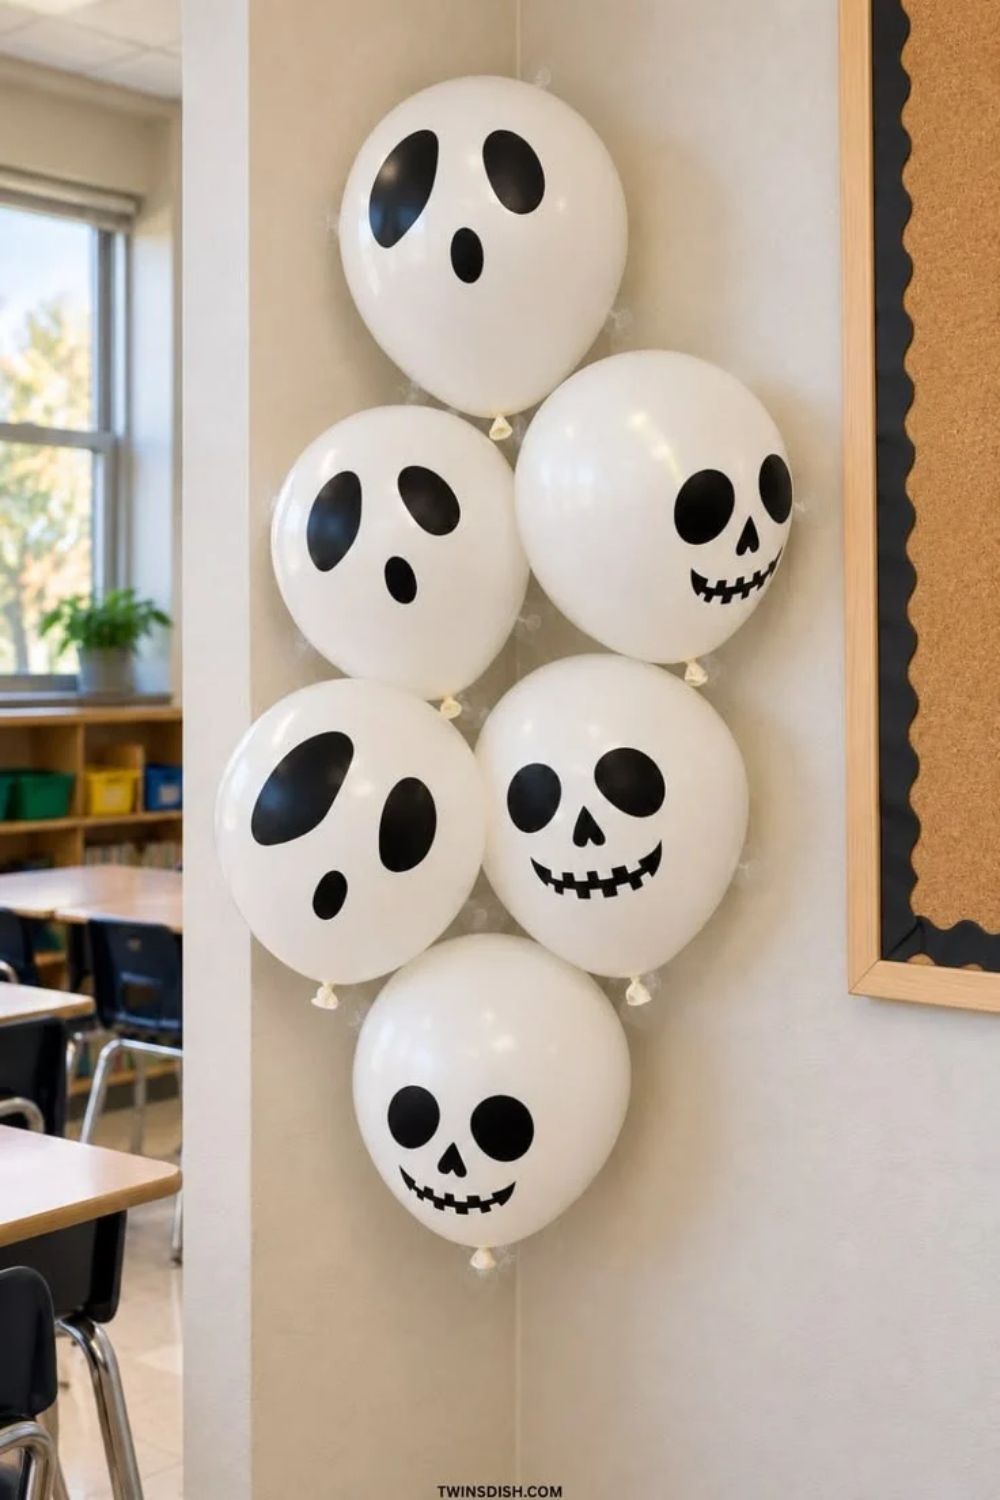
White balloons and a black Sharpee or paint is all you need to make these adorable balloons. You can get creative and draw ghost faces, pumpkin faces, Jack Skellington, bats, witches, stars and moons. No need for helium, just tape the balloons to the ceiling or wall.
EASY PAPER BAT HALLOWEEN DECOR & CENTERPIECE

Turn ordinary twigs into a spooky centerpiece for your table. Just add a few paper bats and you can have a charming Halloween accent in just minutes.
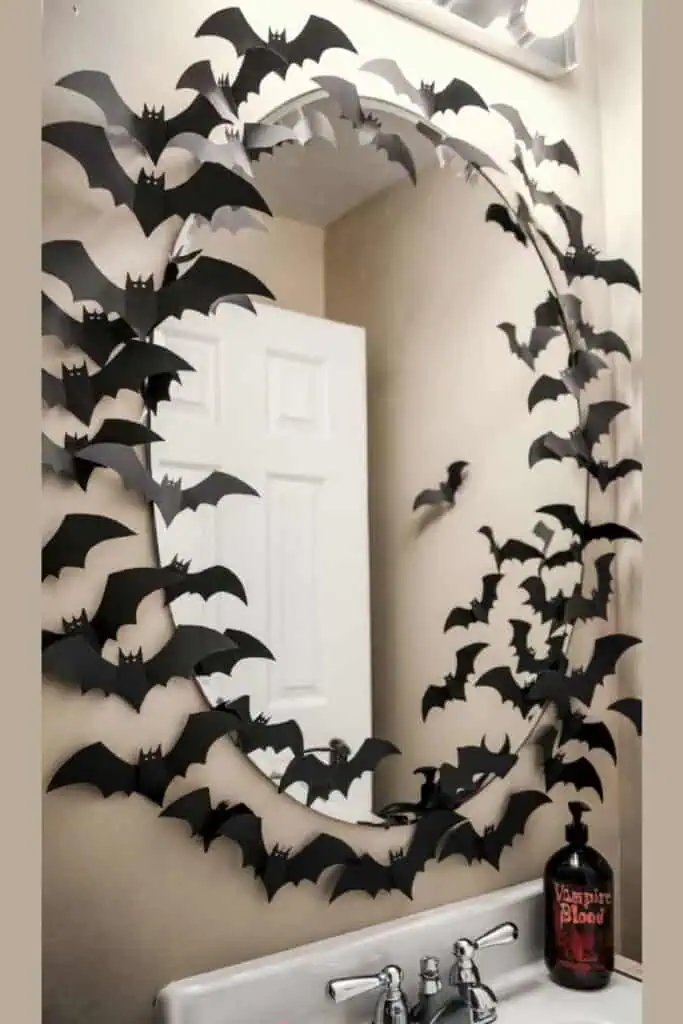
Stick paper bat cut outs on mirrors and walls for easy bathroom or living room party decorations or even hang on a string for fun garland!
DOLLAR TREE DIY POOL NOODLE GHOST HALLOWEEN DECOR
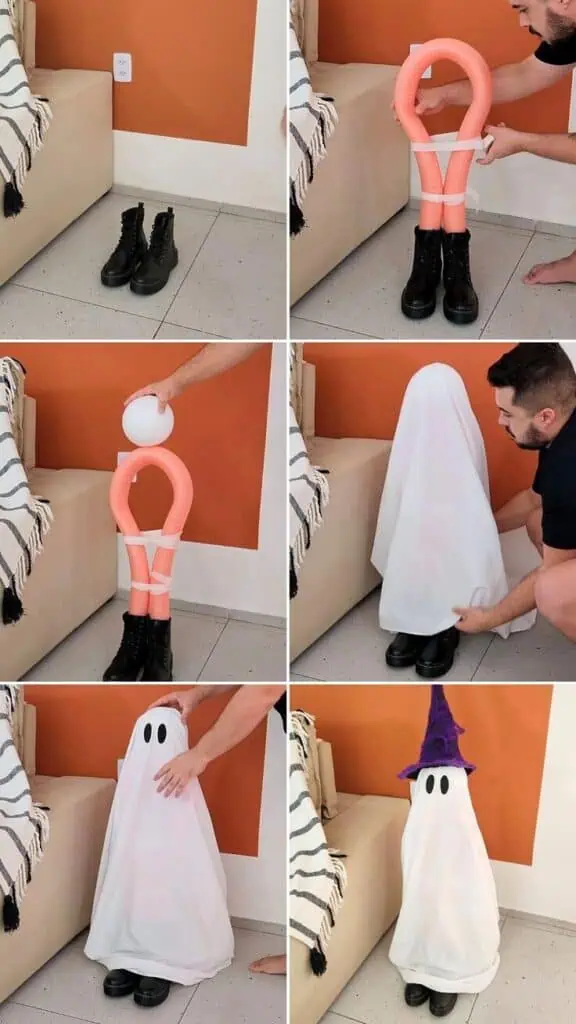
Welcome to the easiest diy Halloween decorations you can create in just 10 mins! Using simple dollar store supplies like pool noodles, a pair of boots, a table cloth, and a bit of tape you’ll have a ghostly indoor or outdoor decoration ready in no time.
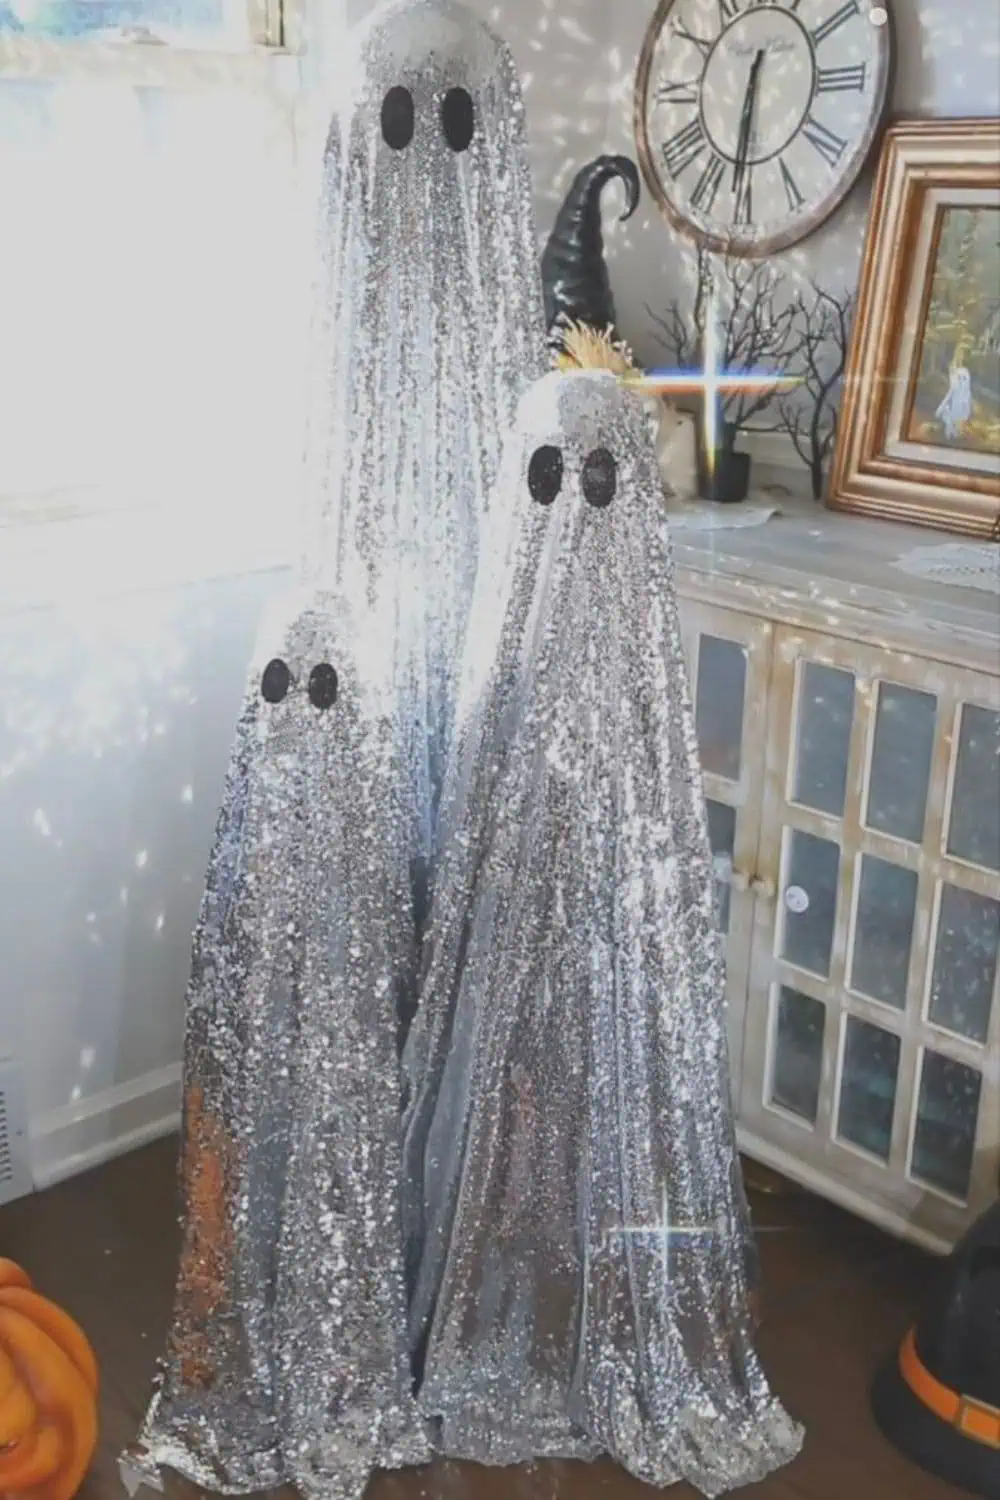
Tape pool noodles together to make varying heights and add on sequin table cloths or table runners for glam Halloween party decor.
LIGHTED GHOST WREATH

This dupe for the Pottery Barn Ghost Wreath is so easy and cheap to make with mostly Dollar Store supplies. It takes only 20 minutes but looks so elegant on the front door! Here’s the easy tutorial:
Supplies

- 1 (12-inch) foam wreath form
- 8-12 (3-inch) Styrofoam balls depending on how full you want it
- 1 strand white battery-operated fairy lights
- White cheesecloth, cut into approximately 12-14 -inch squares
- Mod Podge
- Low-temperature hot glue gun
- Glue sticks
- Straight pins
- Black felt or craft foam for the eyes
- Small paintbrush
- Scissors
- Clear fishing line, ribbon, or wire for hanging
- Ribbon, floral wire, twist ties, or removable Velcro for securing the battery pack
Optional: Instead of felt eyes, use a black Sharpie, black paint, or dimensional craft paint.
Instructions
- Wrap the wreath. Wrap the strand of battery-operated fairy lights around the foam wreath form.
- Attach the ghost heads. Hot glue the Styrofoam balls around the wreath, staggering their placement so they aren’t all perfectly lined up.
- Secure the balls. Add a straight pin through each ball for extra support and make sure each one is firmly attached.
- Add the cheesecloth. Brush a little Mod Podge onto each Styrofoam ball and drape a square of cheesecloth over the top.
- Secure the fabric. Arrange the cheesecloth until you like the way it hangs. Secure it at the back of the head with a straight pin and a small dab of hot glue.
- Stiffen the ghosts. Brush Mod Podge over the cheesecloth, shaping and arranging the fabric as you go. Let it dry completely.
- Add the eyes. Cut small circles from black felt or craft foam and glue them onto each ghost. You can also draw or paint the eyes instead.
- Finish the back. Turn the wreath over and secure any loose fairy light wires. Position the battery pack along the inside of the wreath near the top or along the outside near the bottom, wherever it can be hidden behind the draped cheesecloth. Secure it with ribbon, floral wire, a twist tie, or removable Velcro, making sure the on/off switch and battery compartment are still easy to access.
- Add the hanger. Attach clear fishing line to both sides of the wreath to create a hanger. You can also use ribbon or wire.
- Finish. Fluff and arrange the cheesecloth, you can also shred or fray the edges if you want a more tattered appearance. Turn on the fairy lights, and hang your ghost wreath.
- Tip: You can use an 8- to 18-inch wreath form depending on the size you want. For larger wreaths, use approximately 12–14 Styrofoam balls.
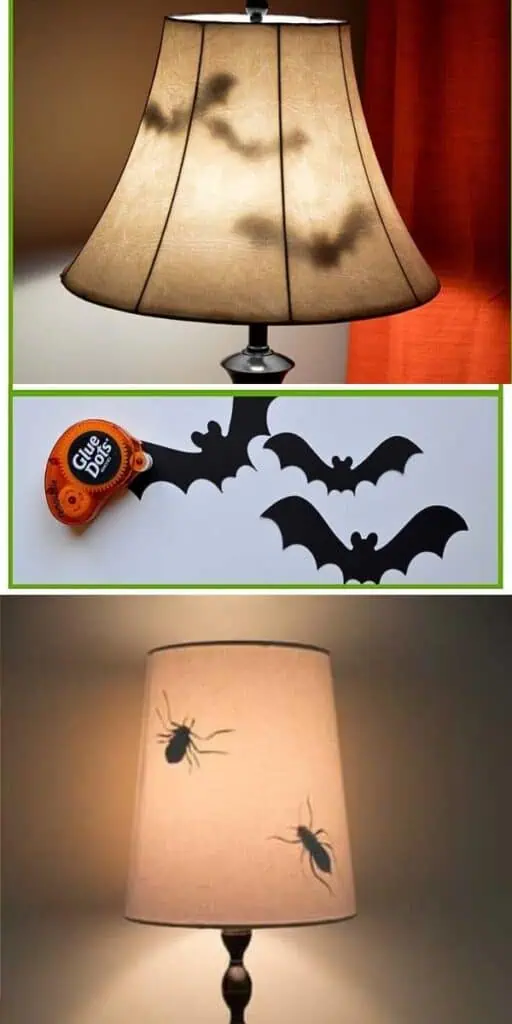
5‑Minute DIY Paper Bat & Bug Lampshade Shadows Dollar Store Halloween Decor
MASON JAR LANTERNS
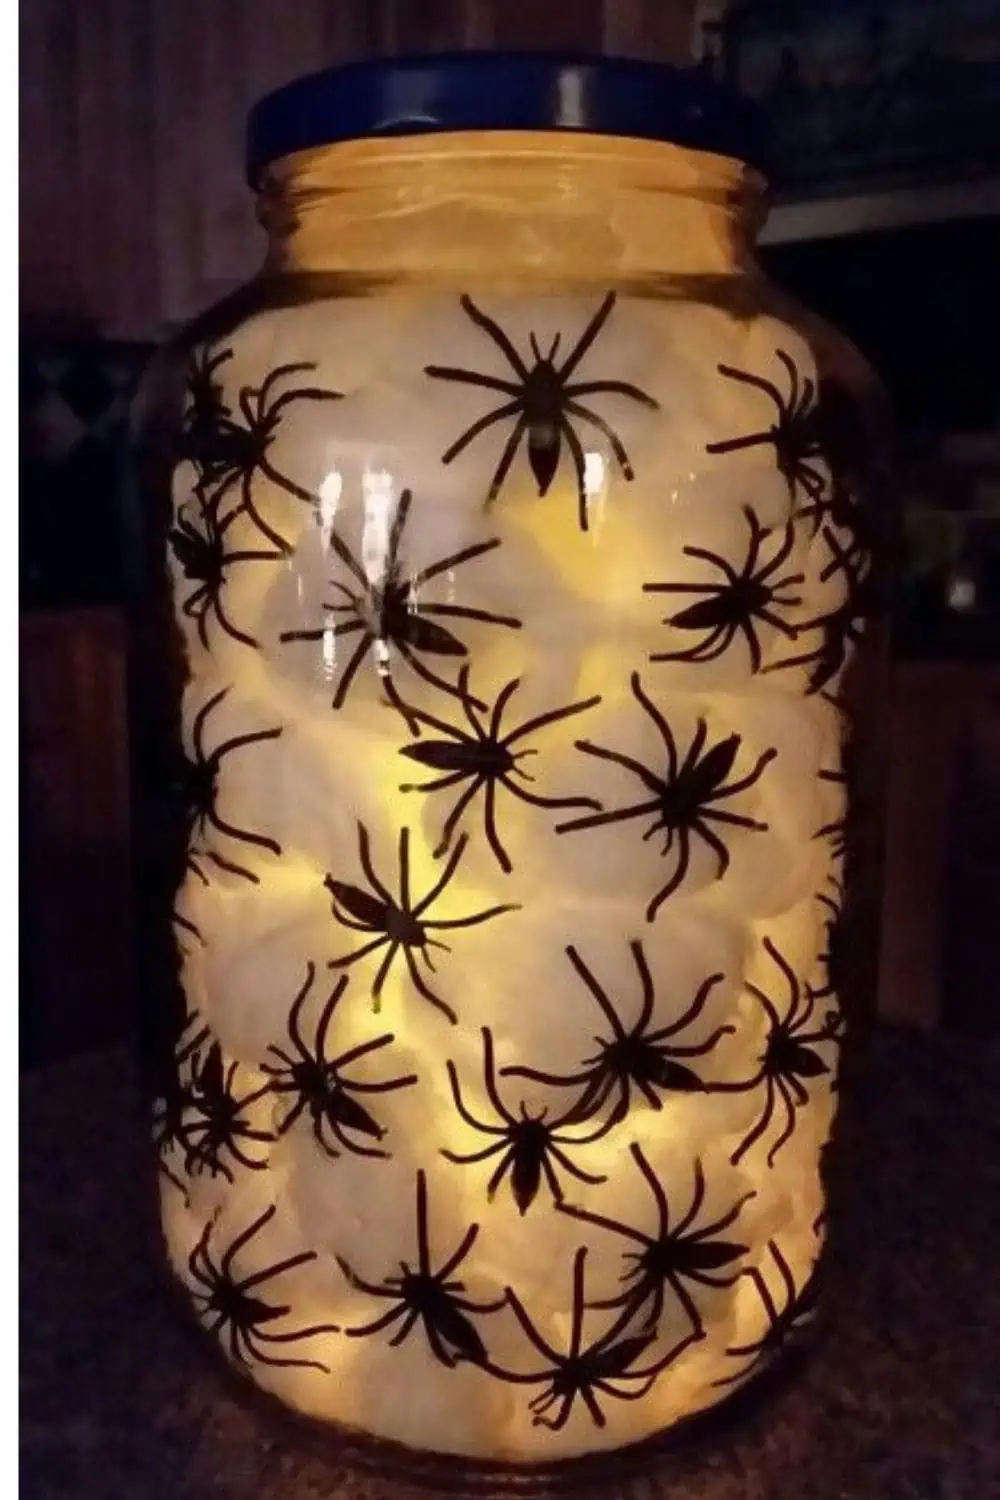
DIY Halloween Spider Jar Light
Time: 10–15 minutes Cost: Under $5 (Dollar Store supplies!)
You’ll Need:
- 1 large glass jar (any size works!)
- A bag of fake plastic spiders
- Some cotton balls or spider web fluff
- A battery-operated LED light or fairy lights
- Optional: black ribbon or paint for extra spooky flair
Instructions:
- Add Spiders First: Stick the plastic spiders onto the cotton so they look like they’re crawling inside the web then place them in the jar against the glass.
- Fill the Jar: Start pulling apart your cotton balls or fake webbing and stuff them lightly behind the spider balls into the jar to make it look airy and spooky.
- Add Lights: Place the LED or fairy lights inside the jar — weave them around the cotton for an eerie glow.
- Seal the Top: Screw the lid back on, or decorate it with ribbon or paint if you want a polished look.
- Turn on the Lights: Set it on your table, mantel, or porch and enjoy your creepy-cool Halloween glow!
- ✨ Tip: You can switch the spiders for bats, ghosts, or mini pumpkins to match your theme! You can also glue the spiders on outisde of the jar after you fill it for a more 3D effect.
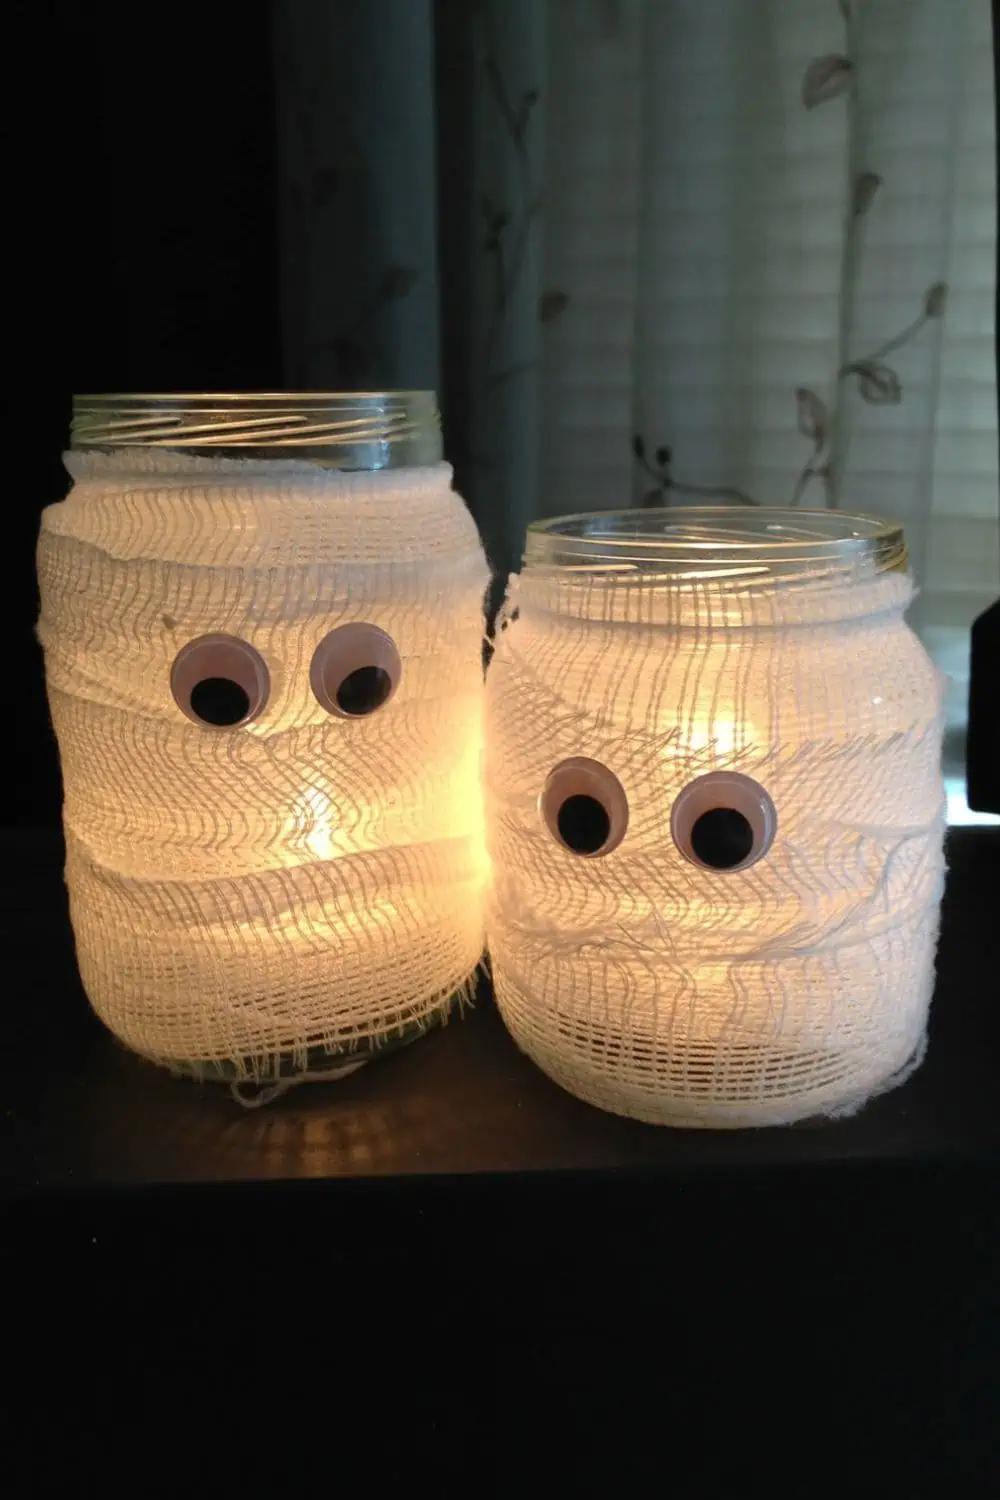
DIY Mason Jar Mummy Lantern
Turn empty mason jars into glowing mummy lanterns with gauze, hot glue or Mod Podge, googly eyes, and LED tea lights. This dollar‑store Halloween DIY takes about 5 minutes and looks great on mantels, porches, party tables, classrooms, or apartments. Use battery‑operated candles for a safe, kid‑friendly craft.
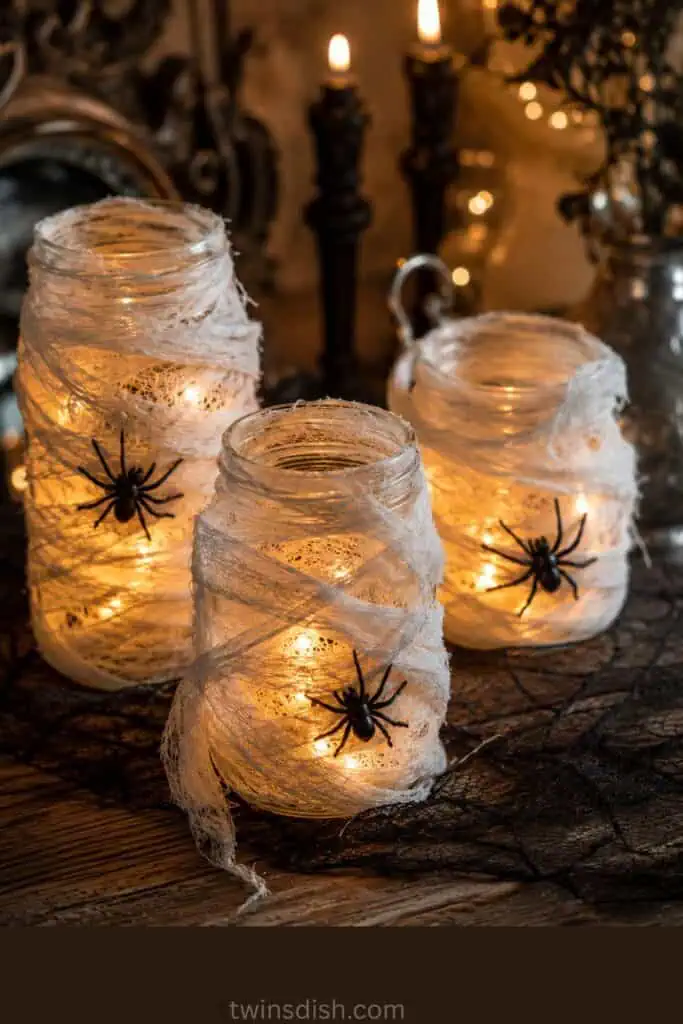
Make a spider version using cheesecloth—especially a loose-weave cotton cheesecloth. You can cut it into strips, wrap it unevenly around the jars, and secure it with hot glue or Mod Podge. The black spiders are small plastic craft spiders from Dollar Stores.
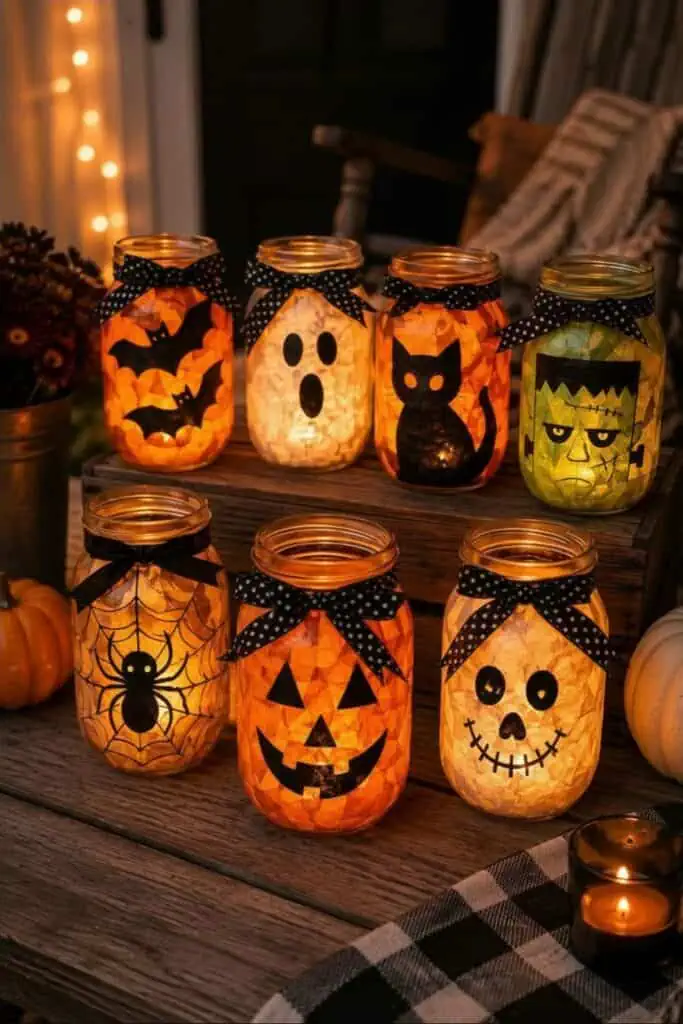
Tissue Paper Mason Jar Lanterns
If you have more time, make these super cute glowing lanterns using torn up tissue paper and Mod Podge to cover the outside of mason jars (don’t forget to give a final coat when finished) then after it’s dry paint a black design on top using acrylic paint or a paint pen.
SPOOKY CARDBOARD SIGN CHEAP EASY DIY HALLOWEEN DECORATION
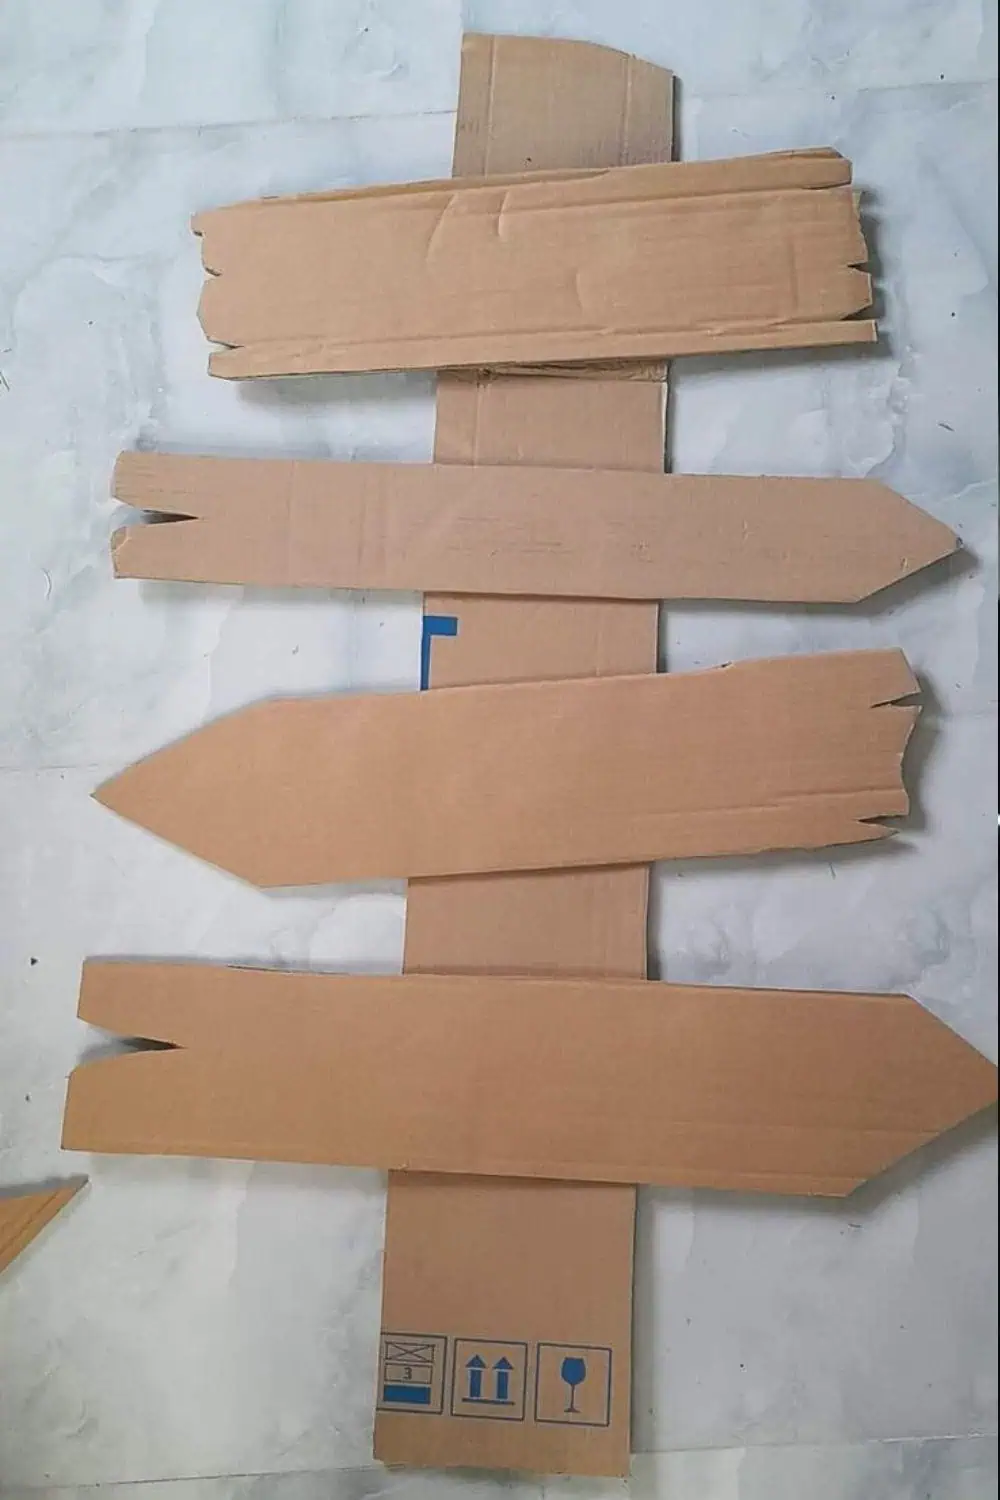
Make a spooky DIY Halloween directional sign from recycled cardboard cut arrow planks, glue them to a post, then paint creepy labels like “Witch Way” or “Graveyard.” This cheap, Dollar Tree friendly craft is lightweight and renter‑safe, perfect for the porch, yard, or party entry. Big impact on a tiny budget, and you can finish it in under an hour.
Dollar Tree Eyeball Plant 5‑Minute DIY Halloween Centerpiece KID FRIENDLY
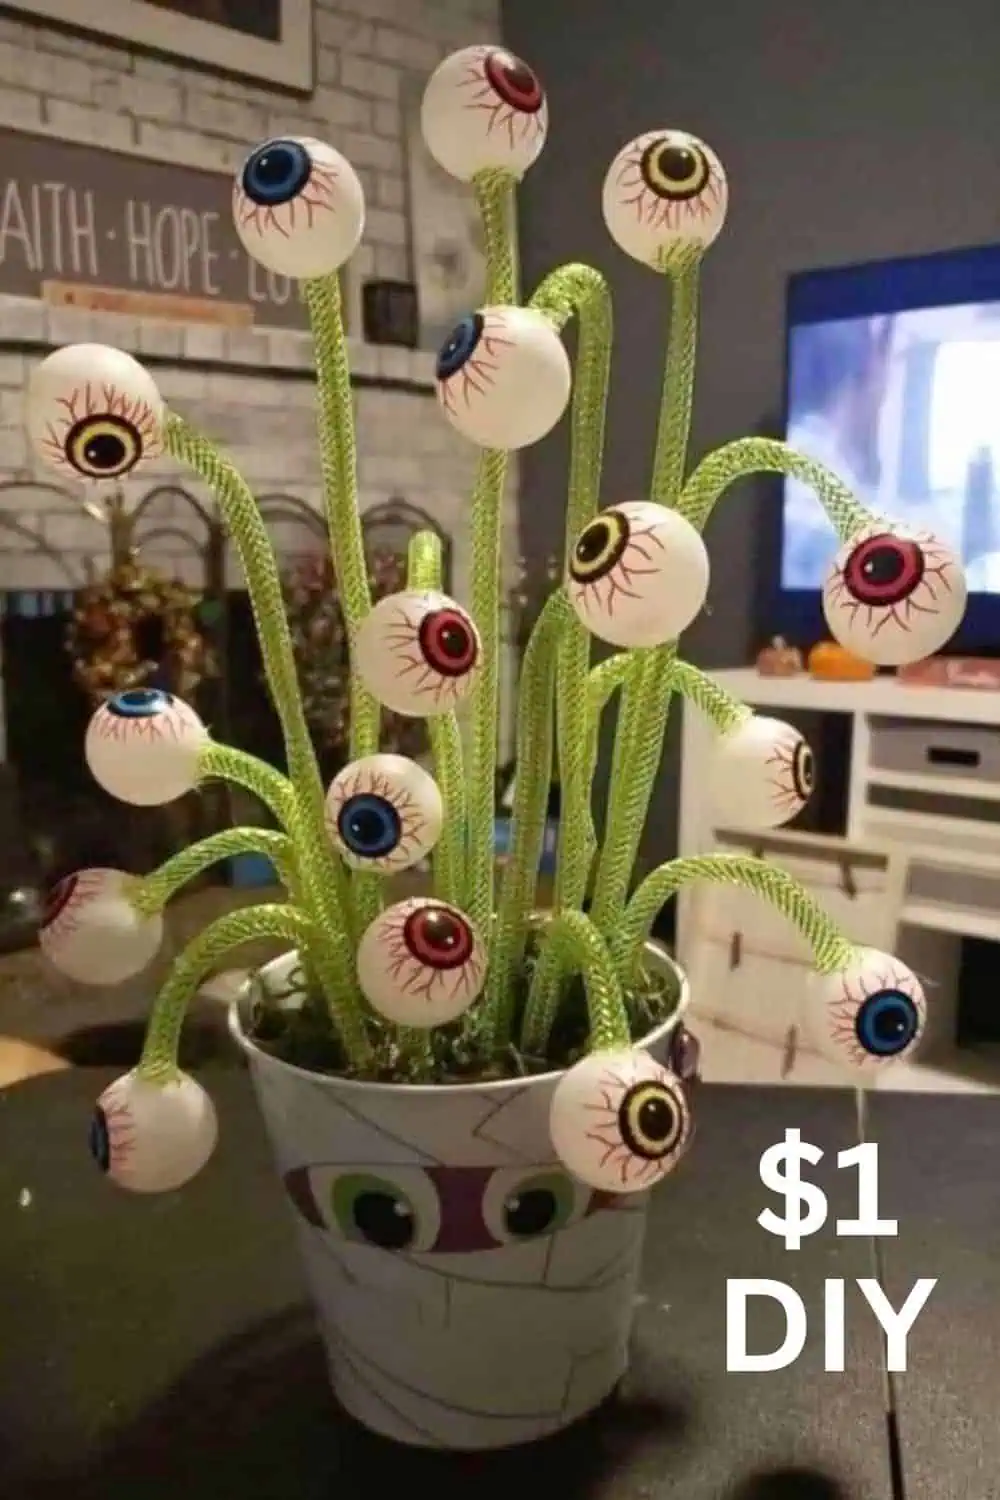
Supplies (all from Dollar Tree or similar discount stores)
- Mesh tubing (Deco Flex Tubing), lime green – 6–10 mm diameter
- Plastic eyeballs (ping‑pong ball size or table scatter eyeballs)
- Small flower pot / metal bucket / Halloween pail
- Floral foam block (to fit the container)
- Hot glue gun & glue sticks
- Floral wire or pipe cleaners (chenille stems) – to stiffen/pose stems
- Wooden skewers or short dowels (optional; slide into tubing for extra support)
- Black/red paint pen or permanent markers (if adding pupils/veins to plain balls)
- Pebbles/glass marbles (to weight the pot)
- Faux moss or tissue paper (to cover foam)
- Scissors & wire cutters
- Clear tape or lighter (seal tubing ends to prevent fray)
- Tip: Slide a pipe cleaner/floral wire inside each tubing strand so the “stems” bend and hold their shape, then hot‑glue the eyeballs on top and anchor the stems into the foam‑filled pot.
DIY Ghost Candles: Dollar Tree Spooky Halloween Décor
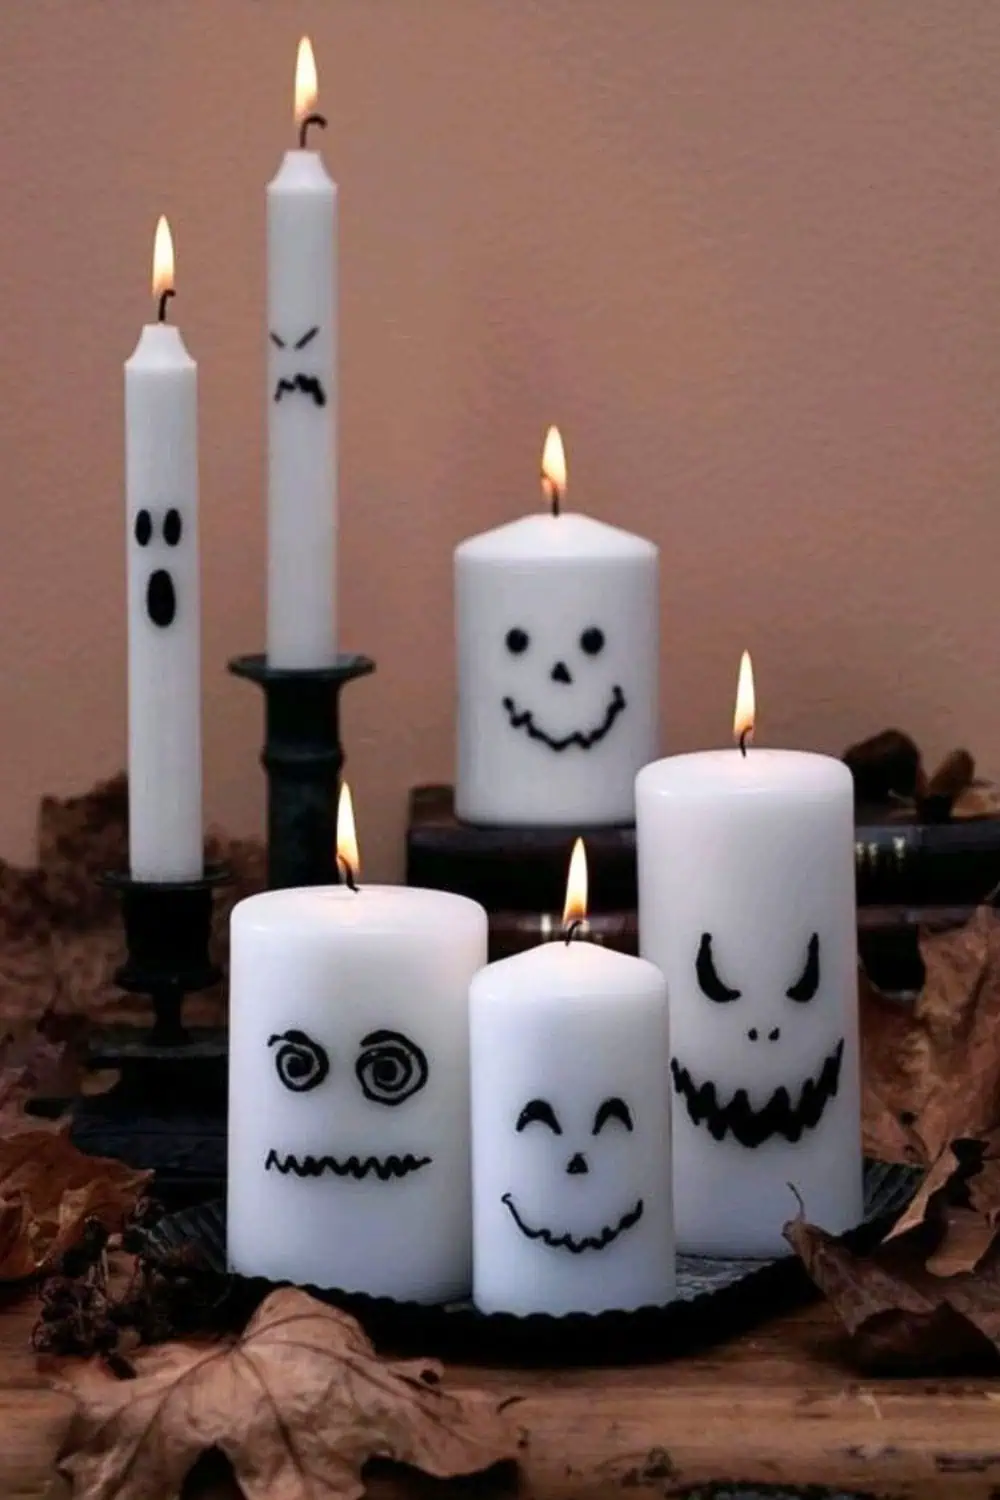
A Sharpie Marker + white candle of any size = Spooky ghost decor. Fun for kids to make!
PAPER SILHOUETTES
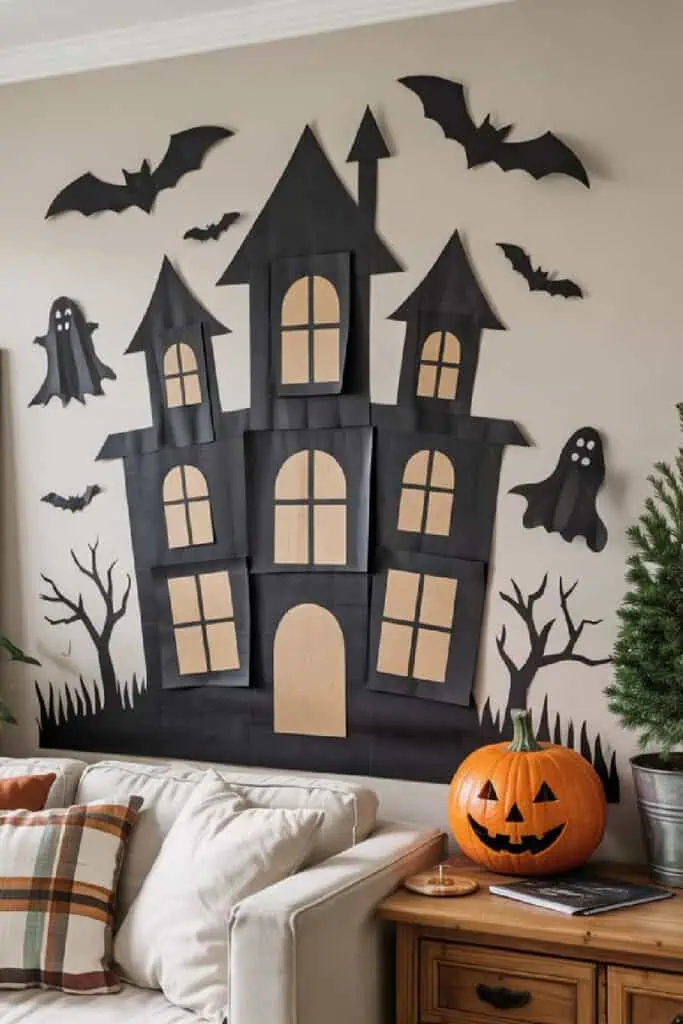
Construction paper, tape, and maybe some stencils is all you need to make amazing Halloween scenes on any wall! They’re super fun for classrooms, Halloween Parties, or offices.
EASY DIY GHOST DECORATION AND PAPER BAT GARLAND
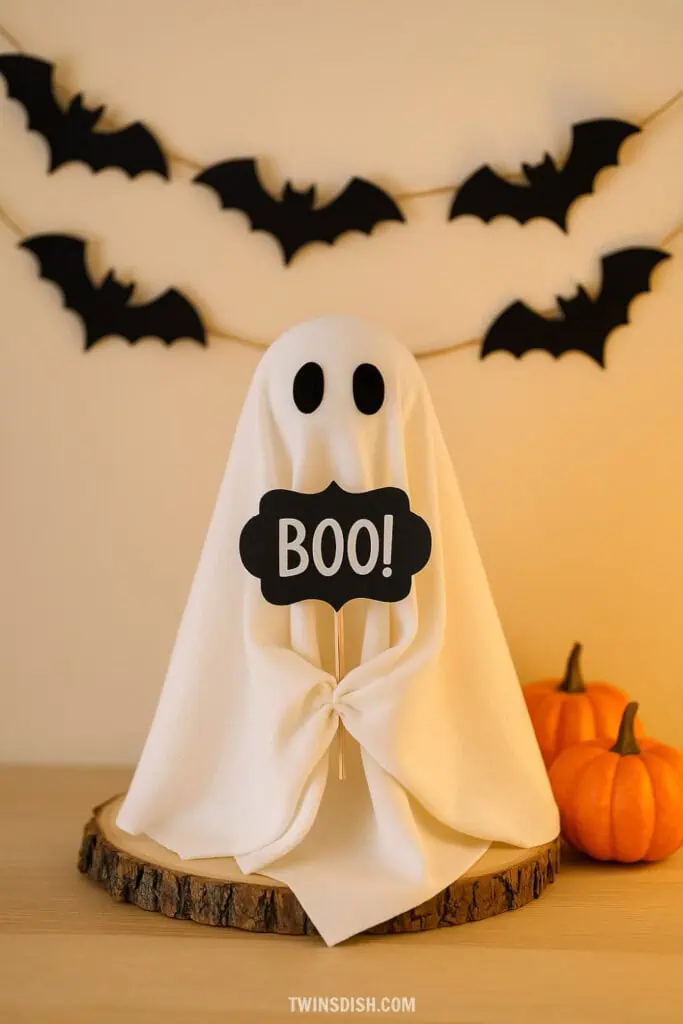
DIY Standing or Floating Ghost Decoration (5-Minute Hack)
You’ll Need:
- Balloon or round foam ball (for the ghost head)
- Paper towel roll, empty plastic bottle, or wire hanger (for structure)
- White cloth, cheesecloth, or tulle (for the ghost body)
- Black felt or paper cutouts (for eyes)
- Tape, string, or fishing line (to attach or hang)
- (Optional) Fairy lights, glitter spray, or sequin fabric for sparkle ✨
🪄 Steps (for a standing ghost):
- Create the head: Inflate a balloon or use a foam ball.
- Build a base: Stick the balloon onto a paper towel roll or bottle. You can weigh it down with pebbles or rice.
- Add the ghost body: Drape white fabric, cheesecloth, or even an old sheet over the balloon so it flows to the floor.
- Make the face: Cut out two ovals for eyes from black felt or paper and tape them on.
- Optional sparkle: If you want the Pinterest glam look (like the ones in the images you loved), use sequin or glittery mesh fabric instead of plain cloth — or lightly spray with glitter paint.
- 💨 For a floating ghost:
- Instead of a bottle base, use fishing line to hang the balloon from the ceiling.
- Drape your fabric and let it hang freely — it creates a spooky, ethereal “floating” effect!
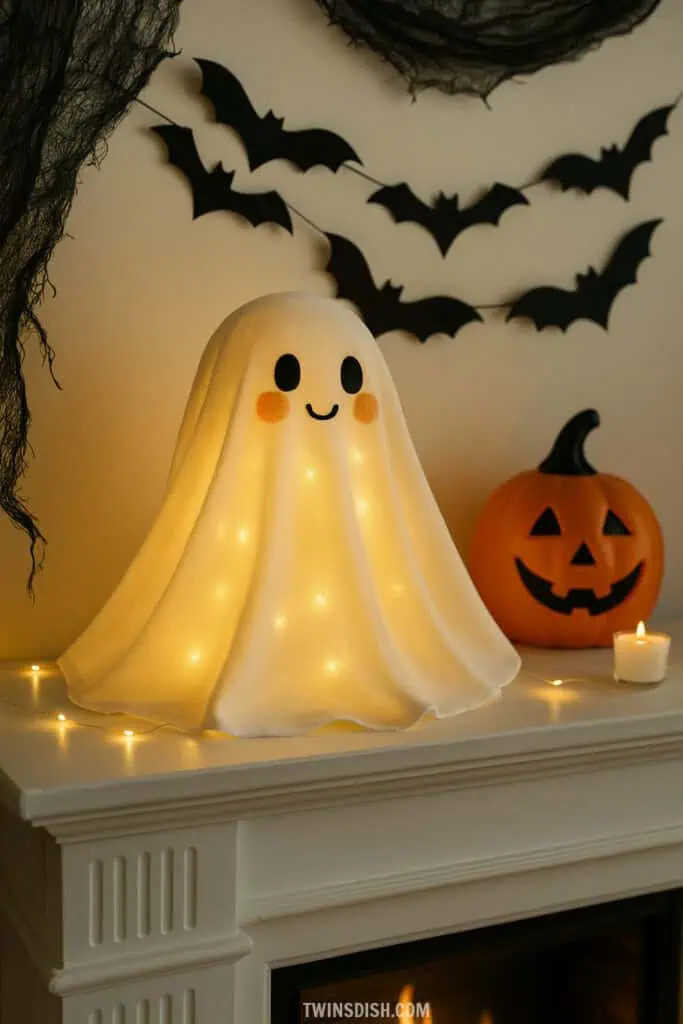
DIY Paper Bat Garland Tutorial (Takes 5–10 Minutes)
You’ll Need:
- Black cardstock or construction paper OR bat cut outs from craft stores)
- Scissors
- Pencil
- Hole punch or tape
- String, twine, or fishing line
- Optional: bat template (you can print one or draw freehand)
Instructions:
- Draw or Trace the Bats:
Use a bat template or draw your own bat shapes onto the black cardstock. Make a few different sizes for variety. - Cut Them Out:
Cut out the bat shapes carefully with scissors. Try folding the wings slightly to make them look more realistic and 3D! - Punch Holes or Tape the String:
If you have a hole punch, make two small holes near the top of each bat’s wings. If not, simply tape the string or twine to the back of the bats. - String the Bats Together:
Thread your twine or fishing line through the holes or tape each bat at evenly spaced intervals. - Hang It Up:
Hang your garland across a wall, mantle, or window using small Command hooks or tape.
Optional:
- Add tiny LED fairy lights to the garland for a glowing Halloween effect.
- Use glitter cardstock or paint the edges with metallic paint for a chic touch.
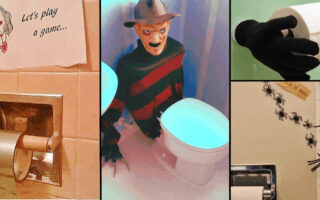
SPOOKY BATHROOM TOILET PAPER HOLDER HALLOWEEN PARTY DECORATION
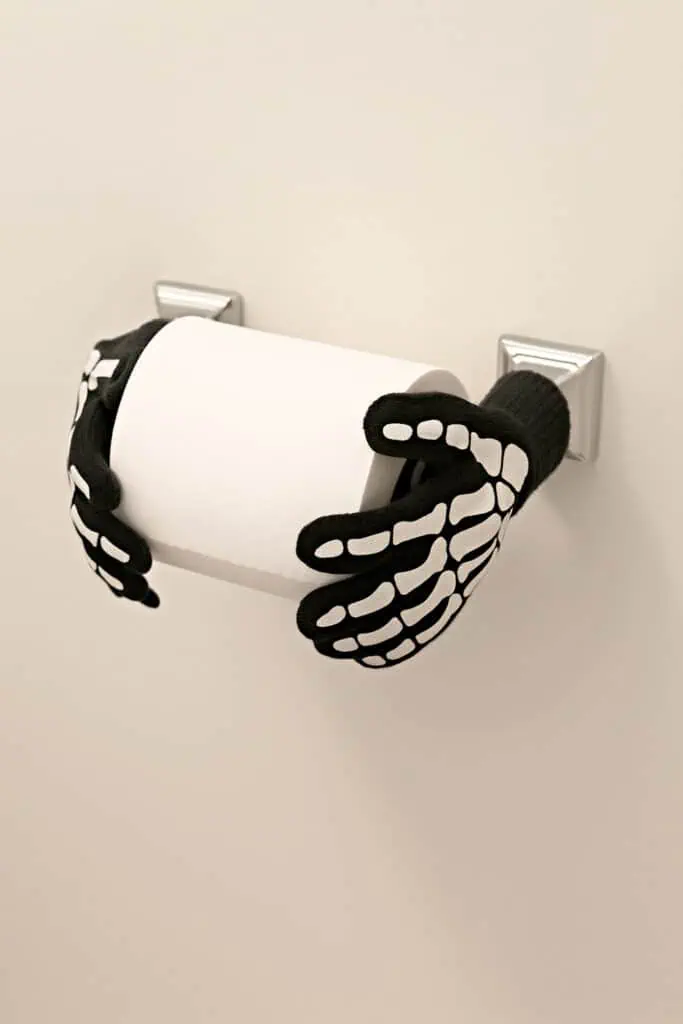
This idea is so cheap and easy and it’s perfect for Halloween parties for both adults and kids! Put gloves or even a plastic pumpkin pail over your toilet paper holder!
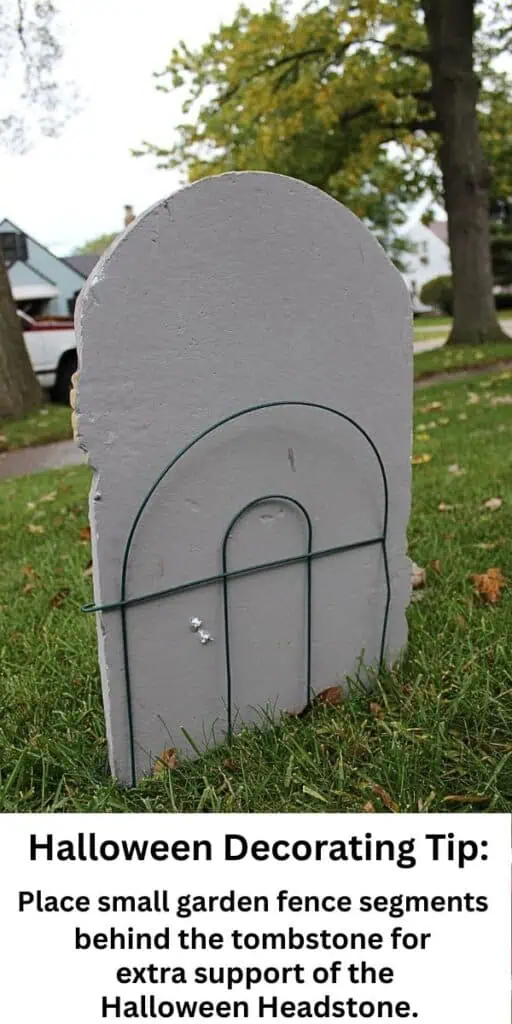
DIY CARDBOARD TOMBSTONE Dollar Tree HALLOWEEN DECOR